Product Categories
A product category allows you to group a range of products within it so they are easier for your customers to find. The default header menu is also built using your product categories and the hierarchy you set them up with. If you create your own menu, you will need to add categories to it for them to appear in the header.
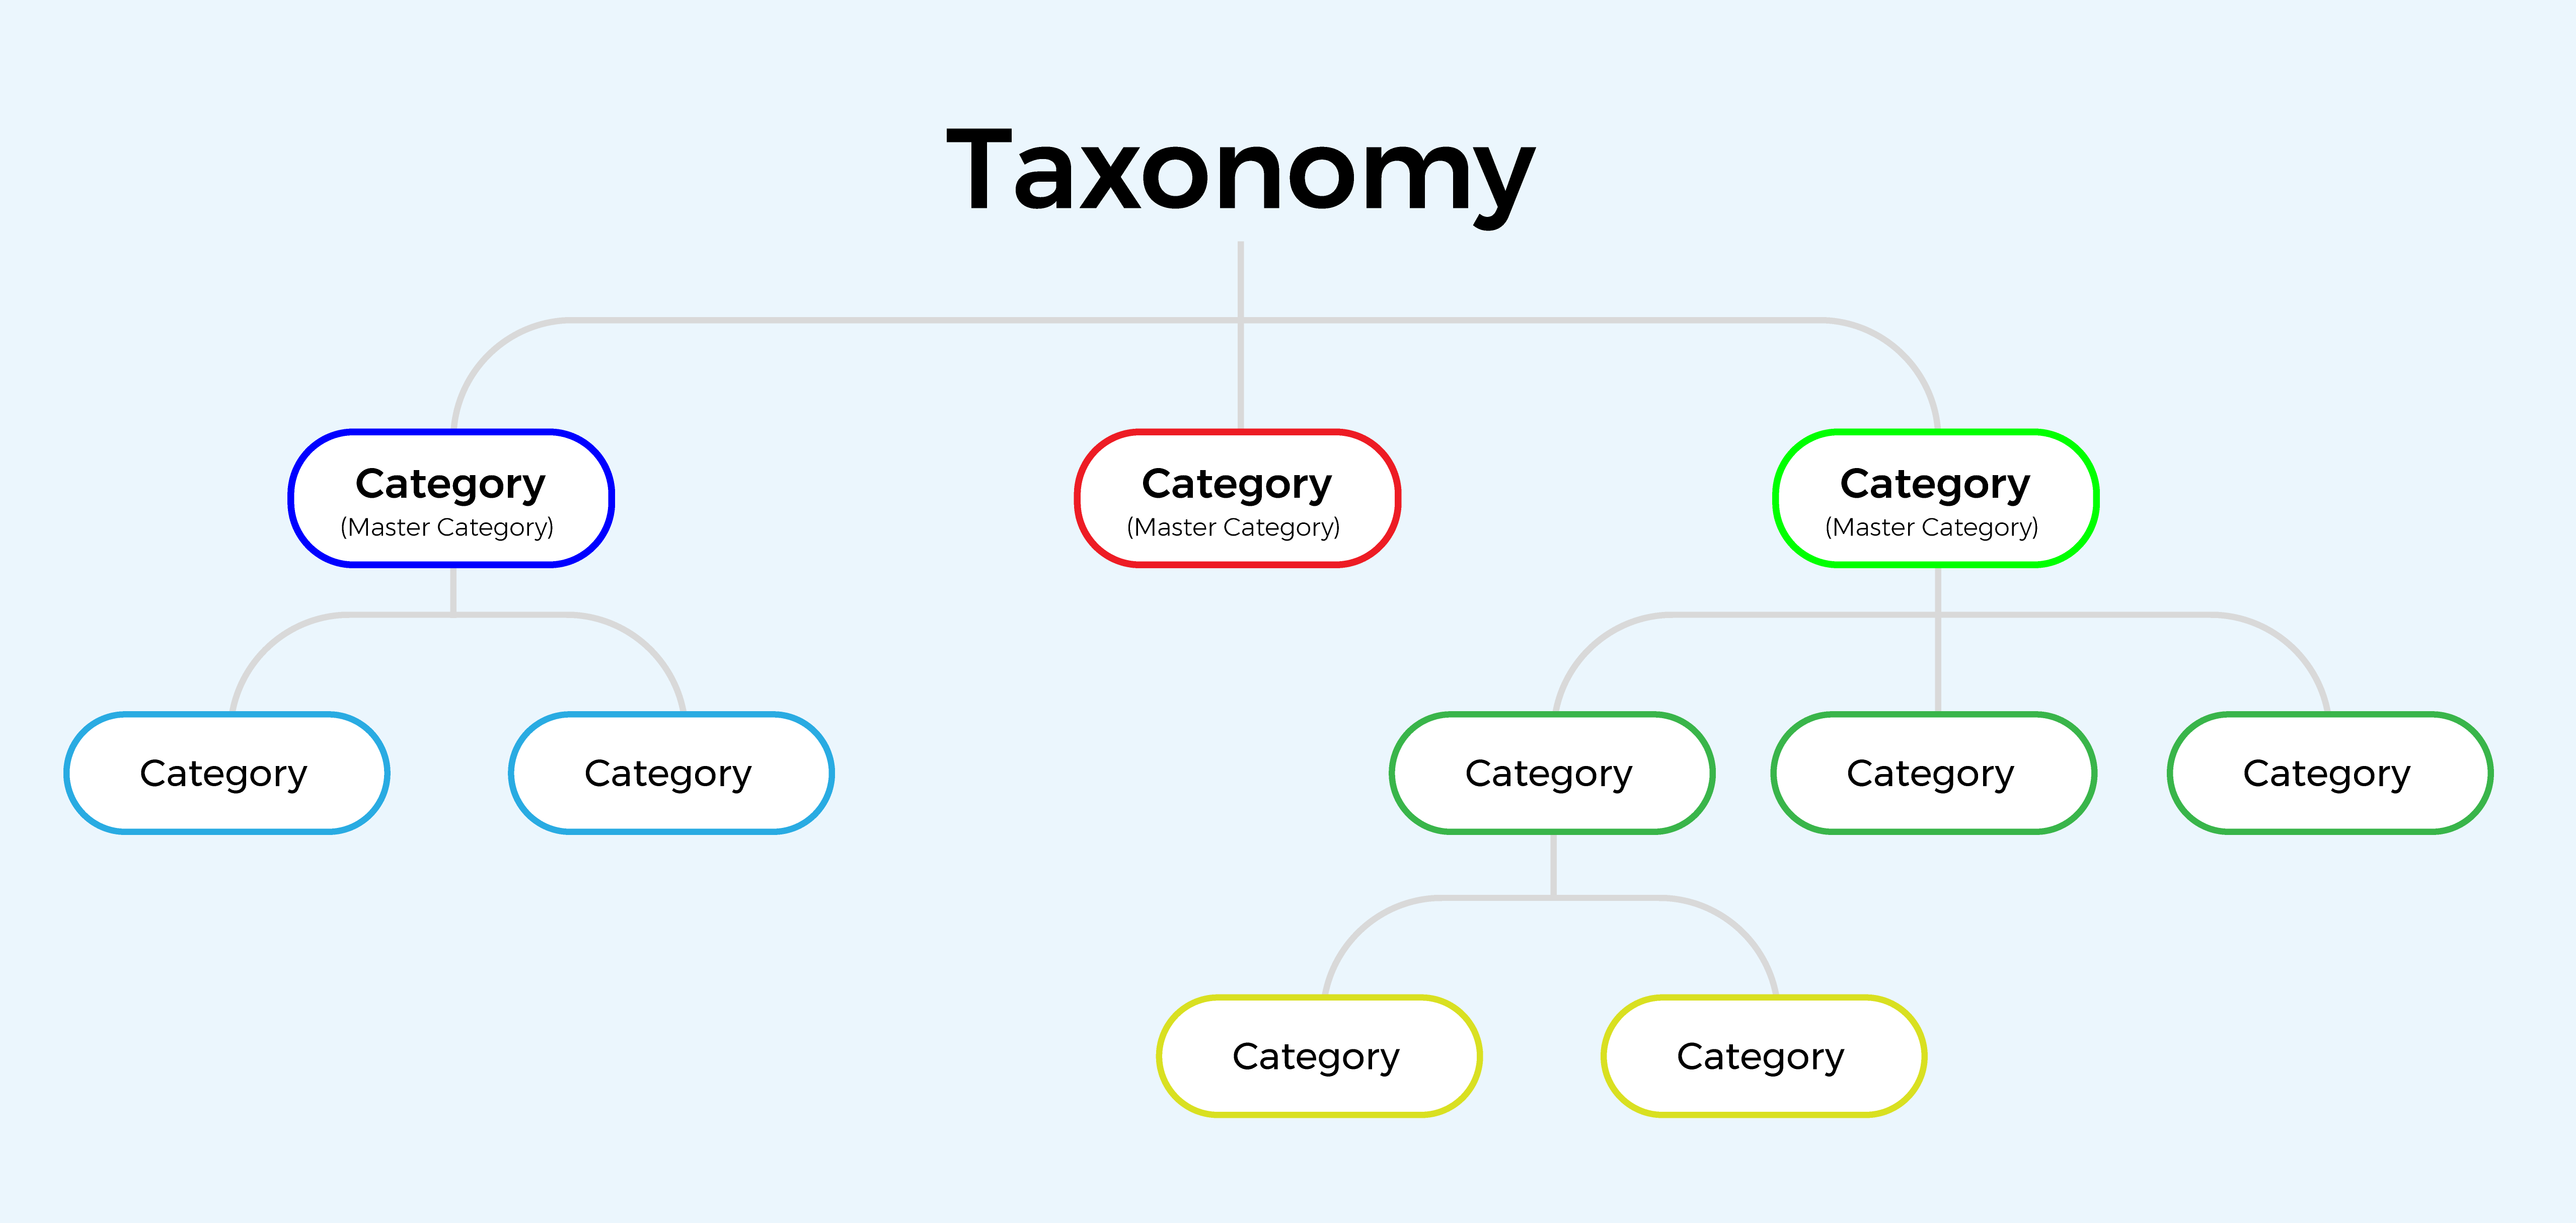
All of your product categories live within a Taxonomy. Your store will have one Taxonomy that it uses and the Product Categories within that Taxonomy will determine the grouping of products for your store. If you have more than one store, each store will have its own Taxonomy. If you want to build a new Taxonomy for your store, you can build it without it affecting your store. When you want it to go live, you just position the new Taxonomy in front of the old one.
Example of a Basic Hierarchy for Product Categories

Creating the Taxonomy
A taxonomy record for your first store is created automatically when you run the install wizard from the StoreConnect Setup tab. To create new Taxonomies, do the following:
- From the StoreConnect Config app, open the Taxonomies tab
- Create a new record
- Give your taxonomy a name
- Set its position (optional) - If you have more than one taxonomy for a store, the one with the lowest position will be used
- Choose what store this taxonomy applies to
Creating a Product Category
- From the StoreConnect Config app, open the Product Categories tab
- Create a new record
- Give the category a name
- Optionally give the category a display name
- Select the taxonomy it will live in
- A path will be automatically generated when you click ‘Save’, but you can choose your own as long as it is unique within its store
- Set the position (optional) - Sets the order master categories will be listed in the default menu (is ignored when using the menu builder)
- Filling out the Content fields is optional - See Content Blocks for further information on their use
- Title - Appears at the top of the category page in place of the name
- Subtitle - Appears at the top of the category page under the title
- Introduction Content - Appears above the product cards (supports Text, Markdown and HTML)
- Informtion Content - Appears below the product cards (supports Text, Markdown and HTML)
- Media - The image to be used on a Featured Category card
- Filling out the SEO fields is optional
- Meta Title
- Meta Keywords - Comma Separated
- Meta Description
- Click ‘Save’
More On Position: The records with a position are shown in order first. Records without a position will then be shown in alphabetical order based on the record name.
Creating the Product Category Hierarchy
After you have created all the categories to make up your master categories and the rest of the product category tree, you can arrange your category hierarchy.
- Select one of your categories that will be a master category
- Go to the Related Lists
- In the ‘Children of this Category’ section, click ‘New’
- Search and select the Child Category you want to add
- Set a position - Sets the order for categories within a parent category
- Set ‘Is the primary parent of the child’ to true if this parent is to be used when creating breadcrumbs (if more than one parent is set as the primary parent the one with the lowest position will be used)
- Click ‘Save’
Continue to add children categories as needed to build your product category hierarchy.
Adding Products to a Category
For instructions on how to add your products to a category, see Adding Products to a Category
Back to Documentation