Locales - Theme Reference - 0.10.11
When building a theme you can choose to make your theme work with multiple languages by using different Locales. A Locale defines a set of translations for a given language. You can create a Locale for each language your theme needs to support.
Theme Locales
In the Related tab for your Theme you will see a section for Theme Locales.
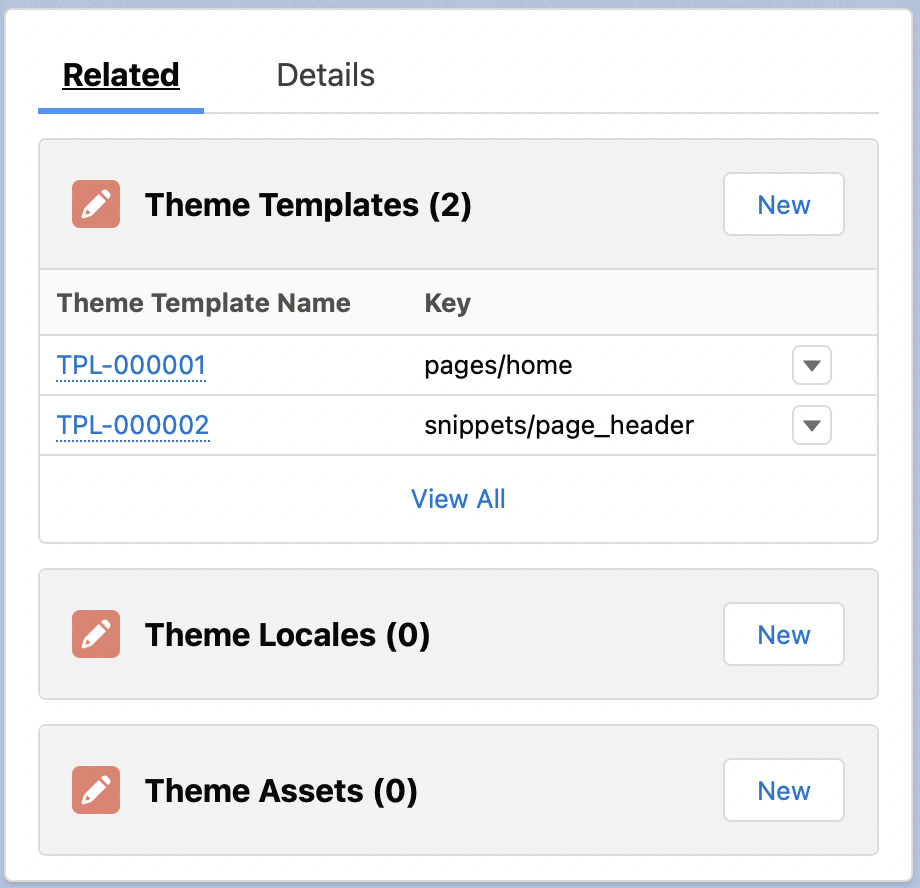
Start by creating a new Theme Locale for your chosen language.
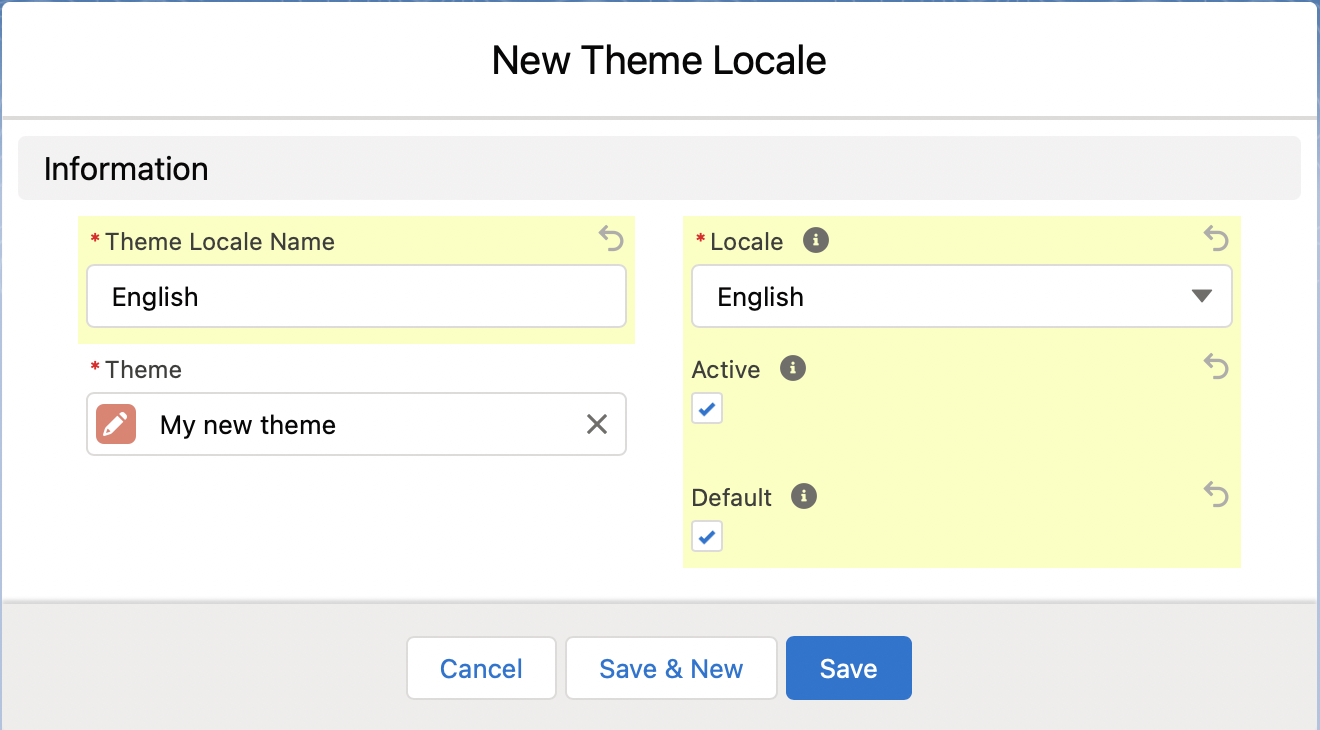
Theme Locale Name is only used for your reference, so call it whatever is meaningful to you. The important field is the Locale. You can adjust the picklist for this field to contain whatever locales your Org needs to support.
If the Active checkbox is unchecked, this locale will not be used on the Store website.
If the Default checkbox is checked, this Locale will be used for any Store that does not define a locale in Store__c.Locale__c.
The Locale that matches the Store’s Locale value (conveniently, they use the same global picklist) will be used on the Store’s website. If there is no match, the Locale that is set to default is used.
Locale Translations
From the Related tab on you new Theme Locale, you can add new Locale Translations.

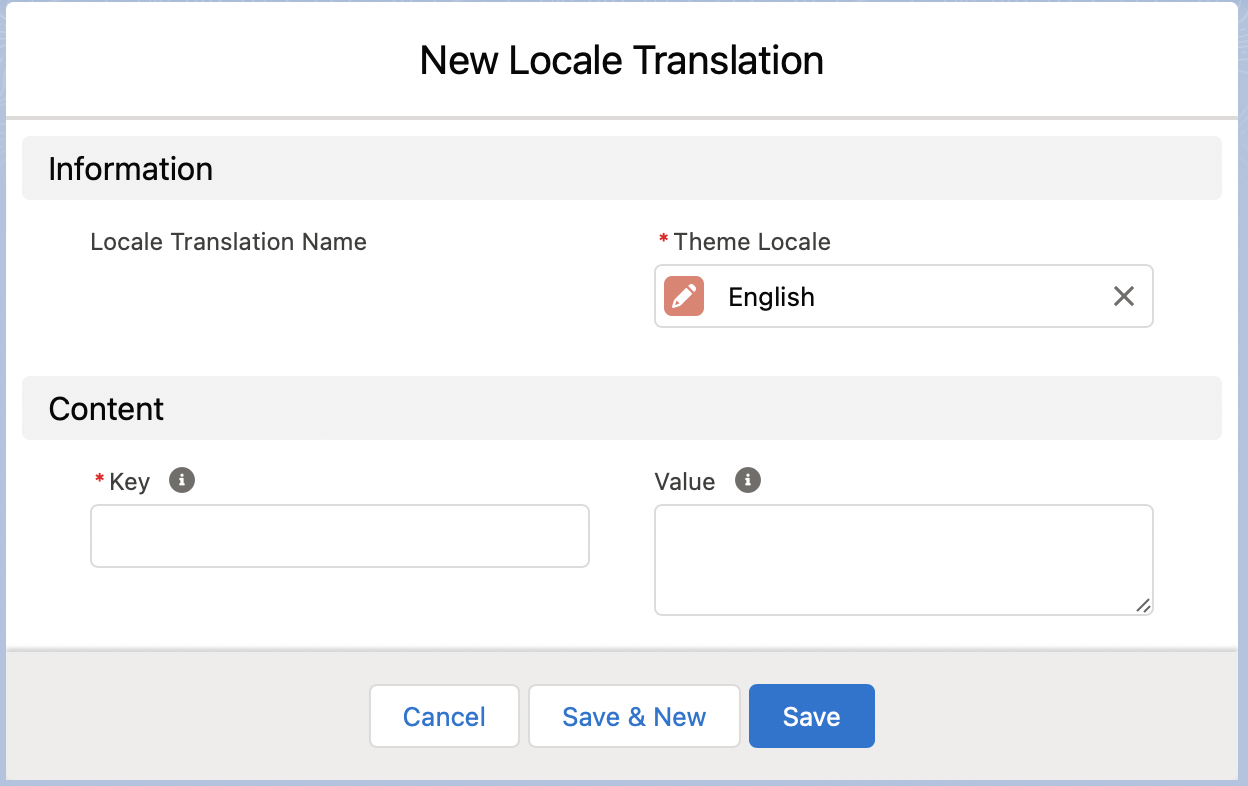
Like Theme Templates, the Key and Value are the important fields here. Key must be unique for the Theme Locale. It serves as a unique identifier for a translation. Value is the actual translation for that Key.
Example
Our home page template has a greeting “This is my new home page!”. The problem is it’s only in English. To prepare our theme to work with other languages, we’re going to configure this phrase with a Locale Translation.
We’ll create a Locale Translation with the key store.home.greeting and a value of “Welcome”.
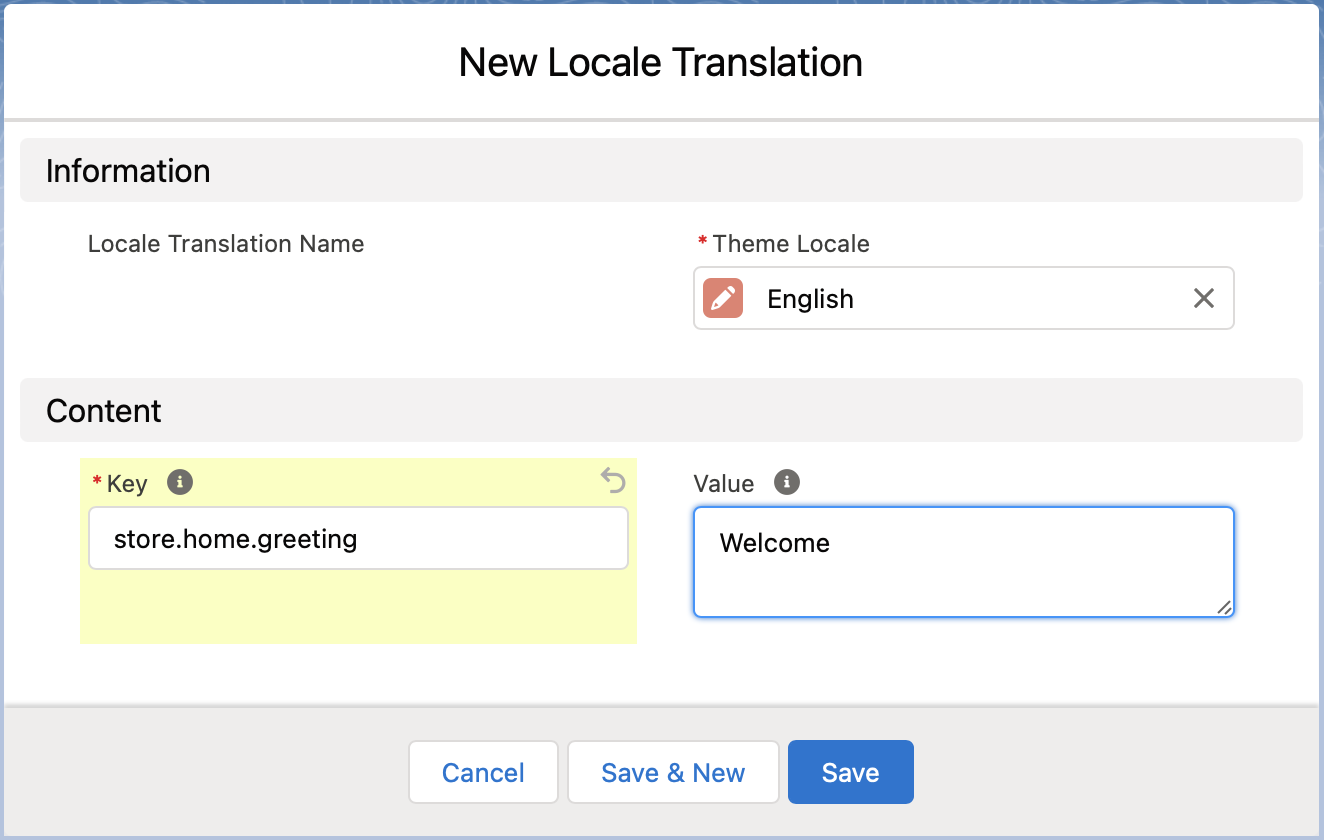
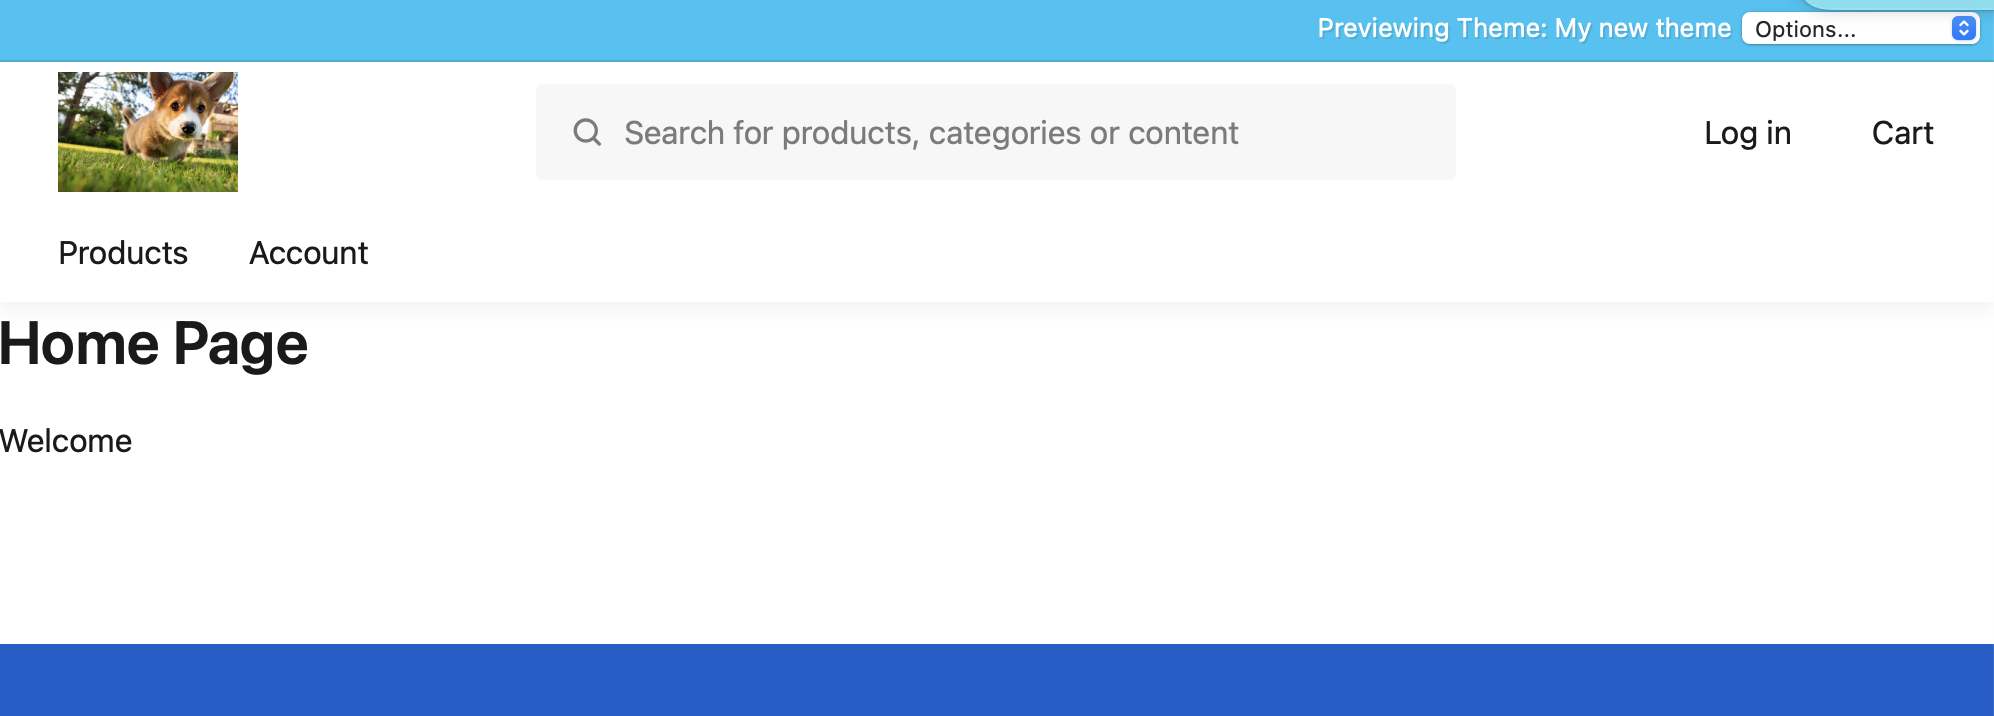
When we preview the site you should now see our new text: Welcome
Now let’s add a translation for French. First create a new Locale.
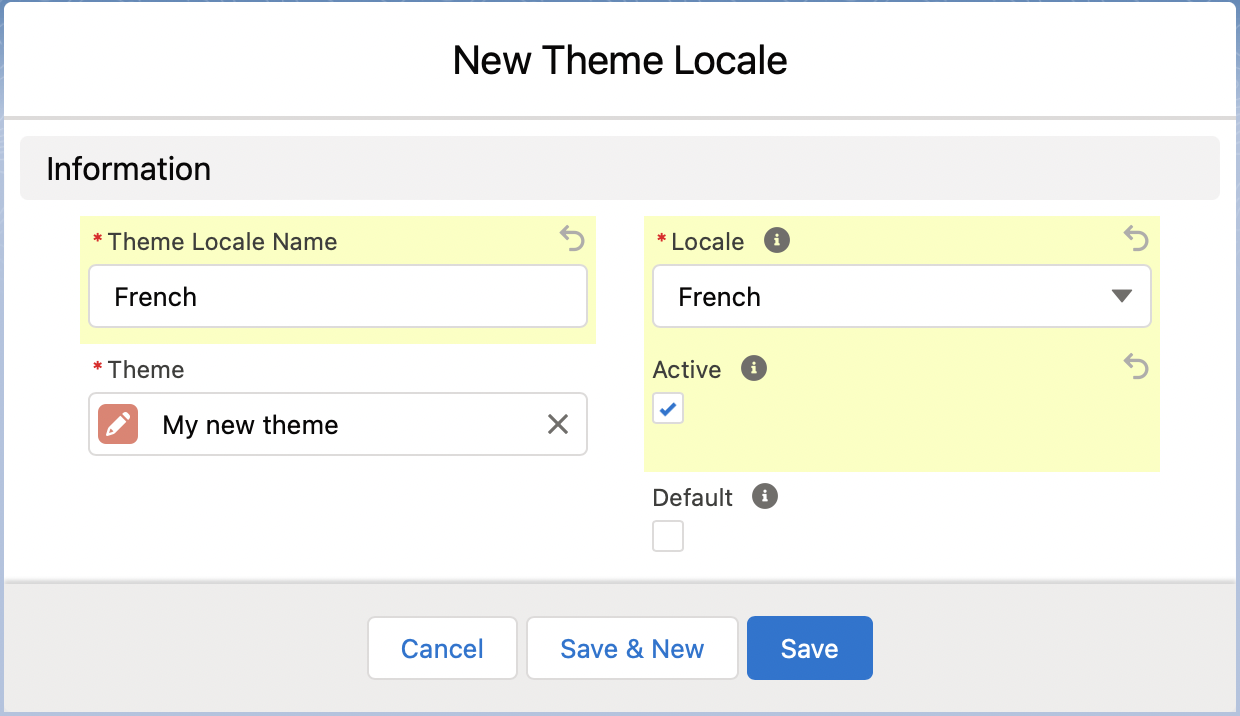
Make sure it is set to Active, but not default.
Before we add the translation, let’s update our Store to use the French locale:
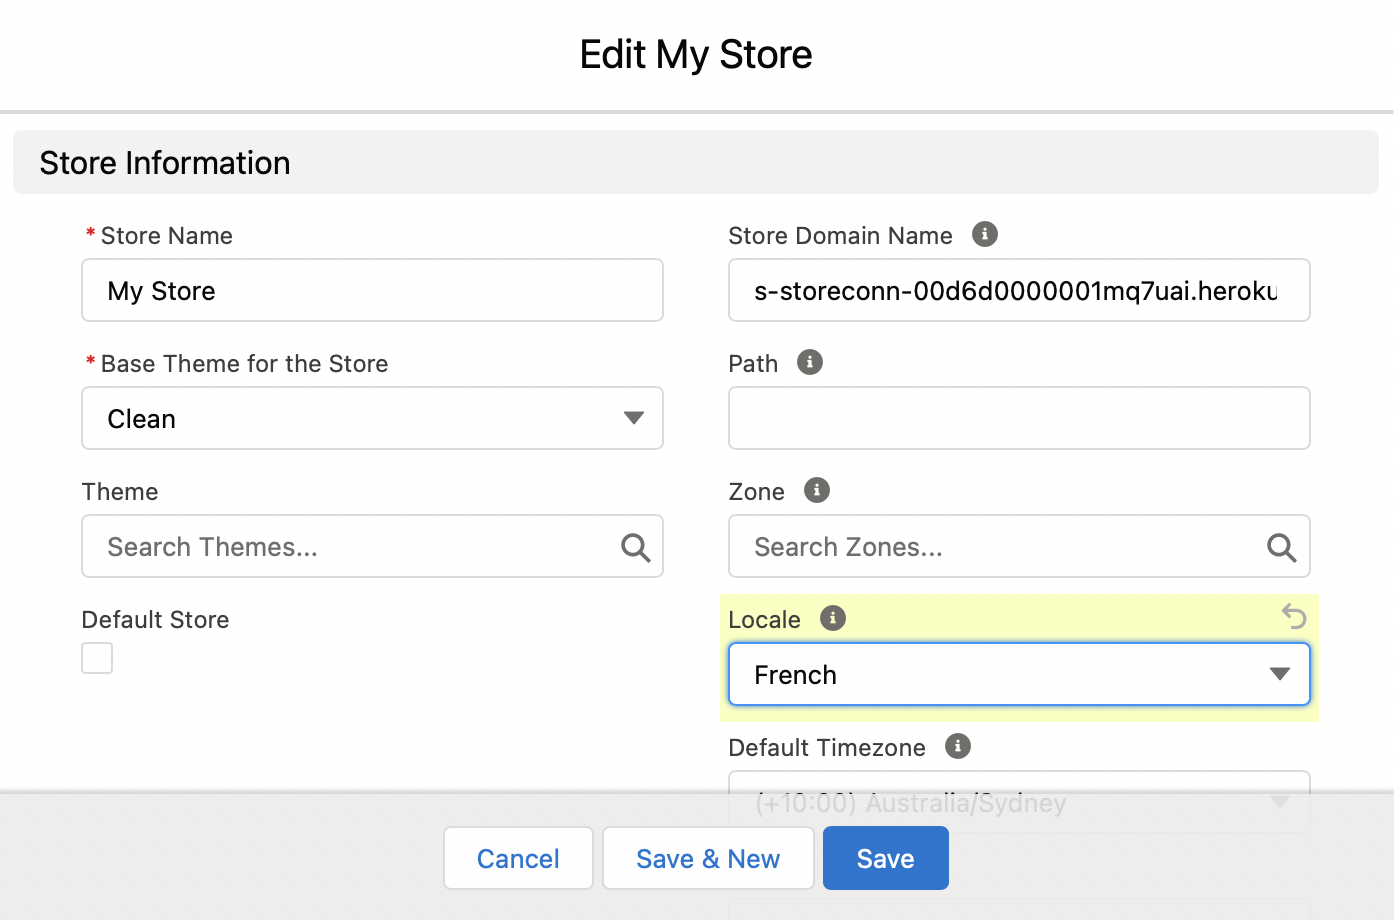
If you preview the site, you’ll still see “Welcome” because that is the translation for the default locale, and our Stores locale (now French) does not supply a translation for the key.
Now let’s add the translation:
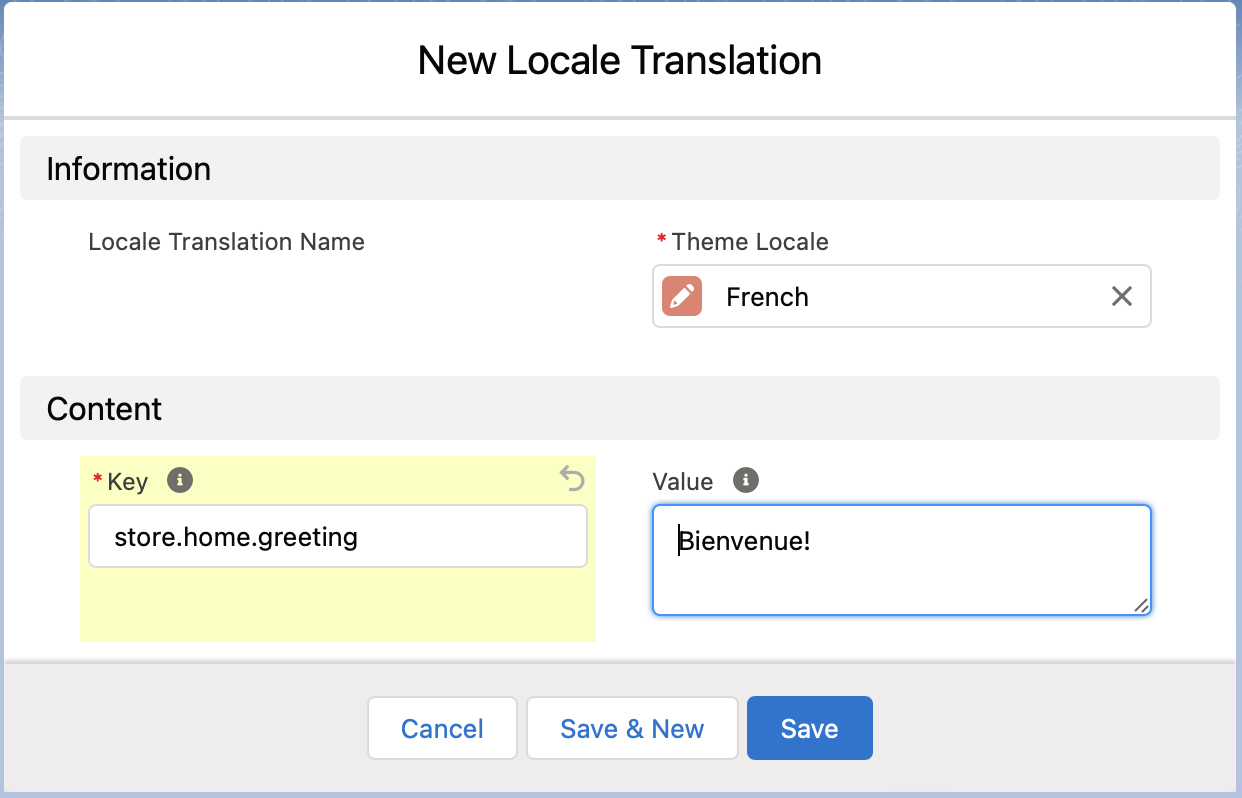
Et voilà, we have a French greeting.

You can also pass information into your translations as follows.
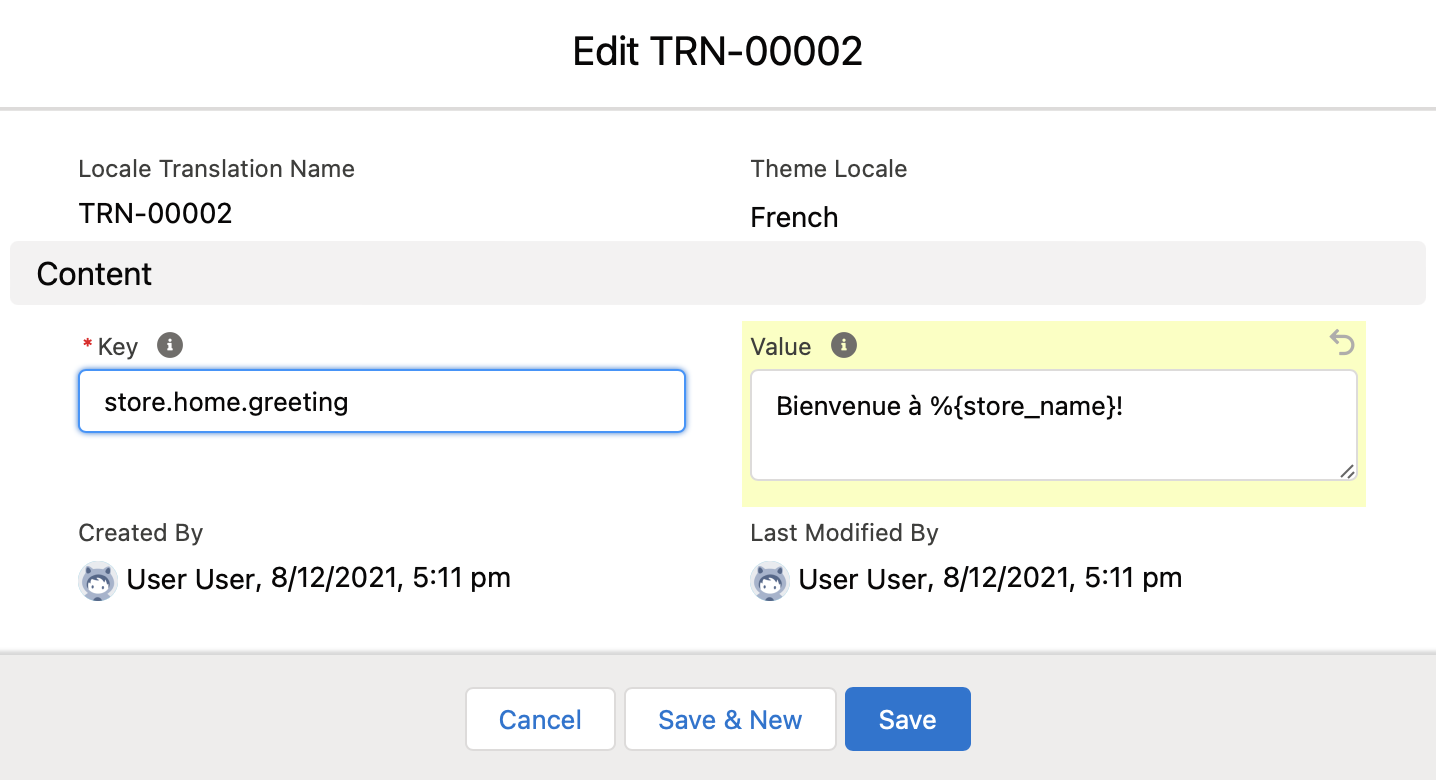
Edit the translation value to accept a variable. The syntax is %{VARIABLE} where VARIABLE is the name of your variable. Here we’ll use store_name for our variable.
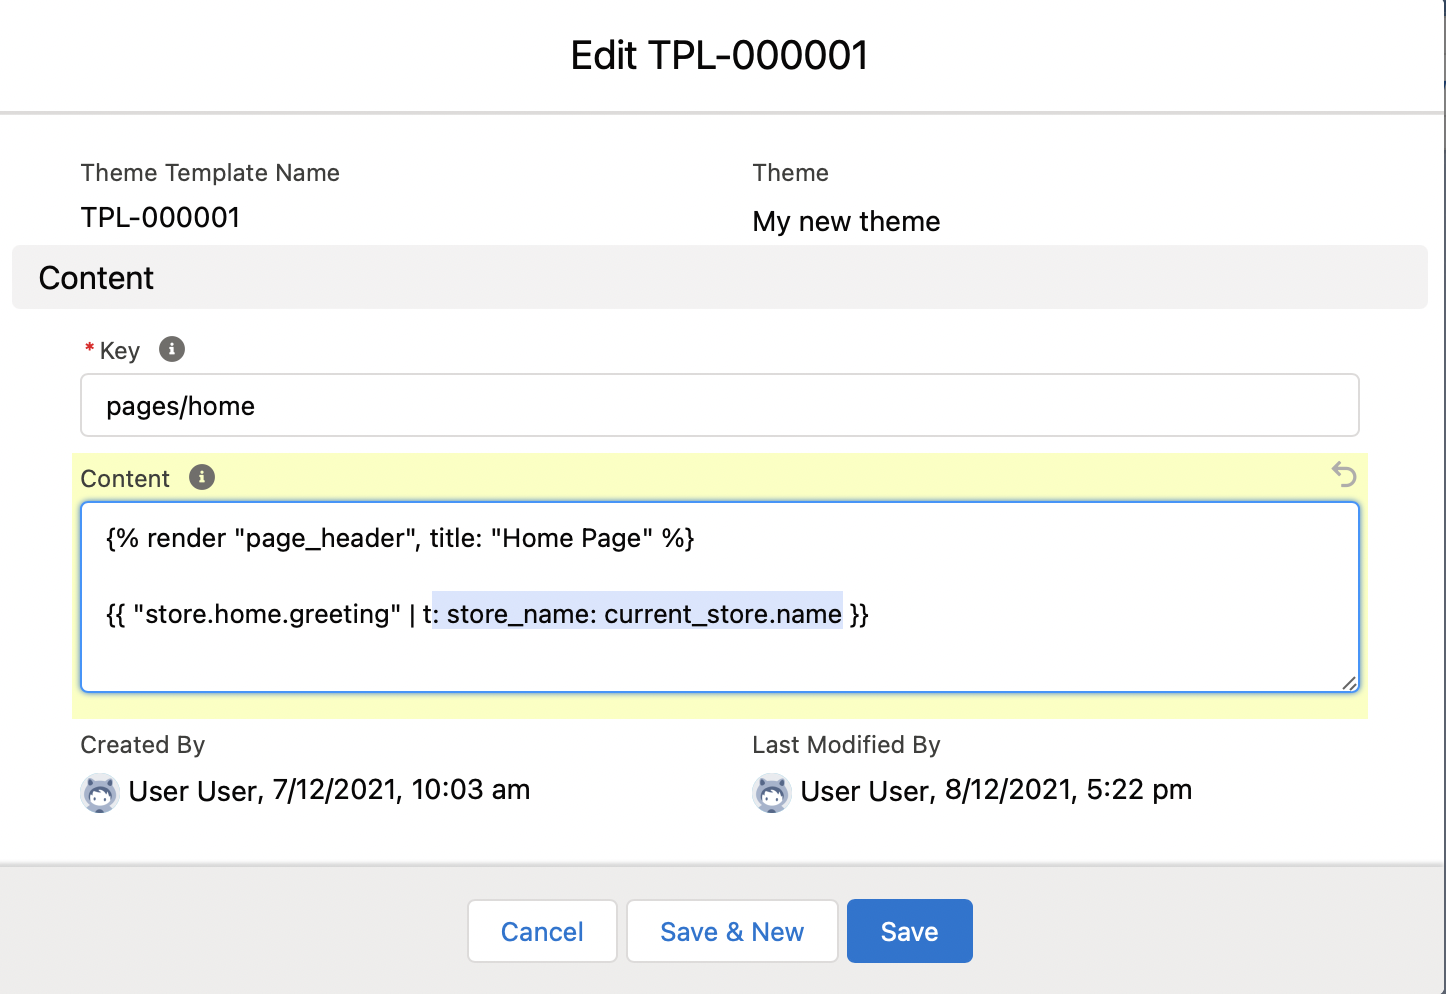
Now update our home page template to pass a value for store_name into the translation. Here we’re using the global current_store variable to get the name of the Store.
Preview the page, and we now have a French greeting.

If you switch the Store’s locale to English, update the English translation to Welcome to %{store_name}, preview the page and you should see “Welcome to My Store”.
That’s it for localisation with Theme Locales.
Next up: Customising the look and feel further with Theme Assets.
Back to Documentation